Attribution Models
Attribution models determine how revenue credit is distributed across touchpoints for an Opportunity. The app supports three distribution types and ships with five pre-built models.
Accessing Attribution Models
- Navigate to the Attribution Configuration tab
- The Attribution Model tab is selected by default
Choosing a Model
Use the Attribution Model dropdown to select a model. The detail panel below shows the model's configuration. Click Apply Model to make it the active default.
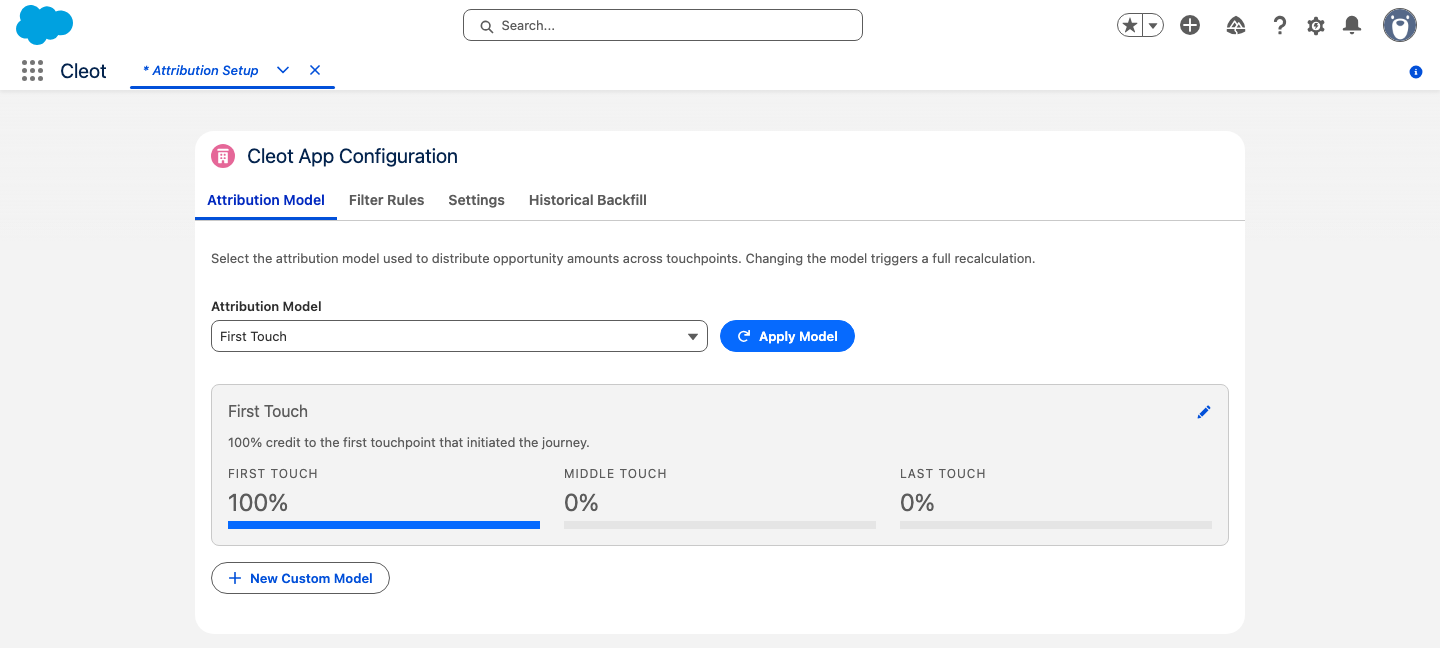
warning
Applying a new model triggers a recalculation of all attributed touchpoints across your org. This may take a few minutes depending on data volume.
Pre-Built Models
| Model | Distribution Logic | How It Works |
|---|---|---|
| Linear | Even | Equal credit to all touchpoints. 4 touchpoints = 25% each |
| First Touch | Position-Weighted | 100% credit to the earliest touchpoint |
| Last Touch | Position-Weighted | 100% credit to the most recent touchpoint |
| U-Shaped | Position-Weighted | 40% to the first, 40% to the last, 20% split among middle touchpoints |
| Time Decay | Time-Decay | Touchpoints closer to Opportunity creation get more credit (7-day half-life) |
Examples
Even (Linear)
A $100,000 Opportunity with 4 touchpoints:
| Touchpoint | Weight | Amount |
|---|---|---|
| Campaign A | 25% | $25,000 |
| Campaign B | 25% | $25,000 |
| Campaign C | 25% | $25,000 |
| Campaign D | 25% | $25,000 |
Position-Weighted (U-Shaped)
The same $100,000 Opportunity:
| Touchpoint | Position | Weight | Amount |
|---|---|---|---|
| Campaign A | First | 40% | $40,000 |
| Campaign B | Middle | 10% | $10,000 |
| Campaign C | Middle | 10% | $10,000 |
| Campaign D | Last | 40% | $40,000 |
Time-Decay
A $100,000 Opportunity with 3 touchpoints at different times:
| Touchpoint | Timing | Approximate Weight |
|---|---|---|
| Campaign A | 14 days before | ~14% |
| Campaign B | 5 days before | ~35% |
| Campaign C | 1 day before | ~51% |
Creating a Custom Model
- Click New Custom Model at the bottom of the Attribution Model tab
- Enter a Model Name (must be unique)
- Select the Distribution Logic: Even, Position-Weighted, or Time-Decay
- Configure the type-specific settings:
- Position-Weighted: Set First Touch %, Middle Touch %, and Last Touch % (must total 100%)
- Time-Decay: Set the Half-Life in days
- Even: No additional settings needed
- Click Save Model
Editing a Model
- Select the model from the dropdown
- Click the edit (pencil) icon on the detail panel
- Modify the settings
- Click Save Changes or Cancel to discard
note
Editing a model does not automatically recalculate touchpoints. To apply changes, click Apply Model after saving.