Post-Install Setup
After installing the app, complete these steps to get up and running. The in-app Getting Started tab tracks your progress through these steps automatically:
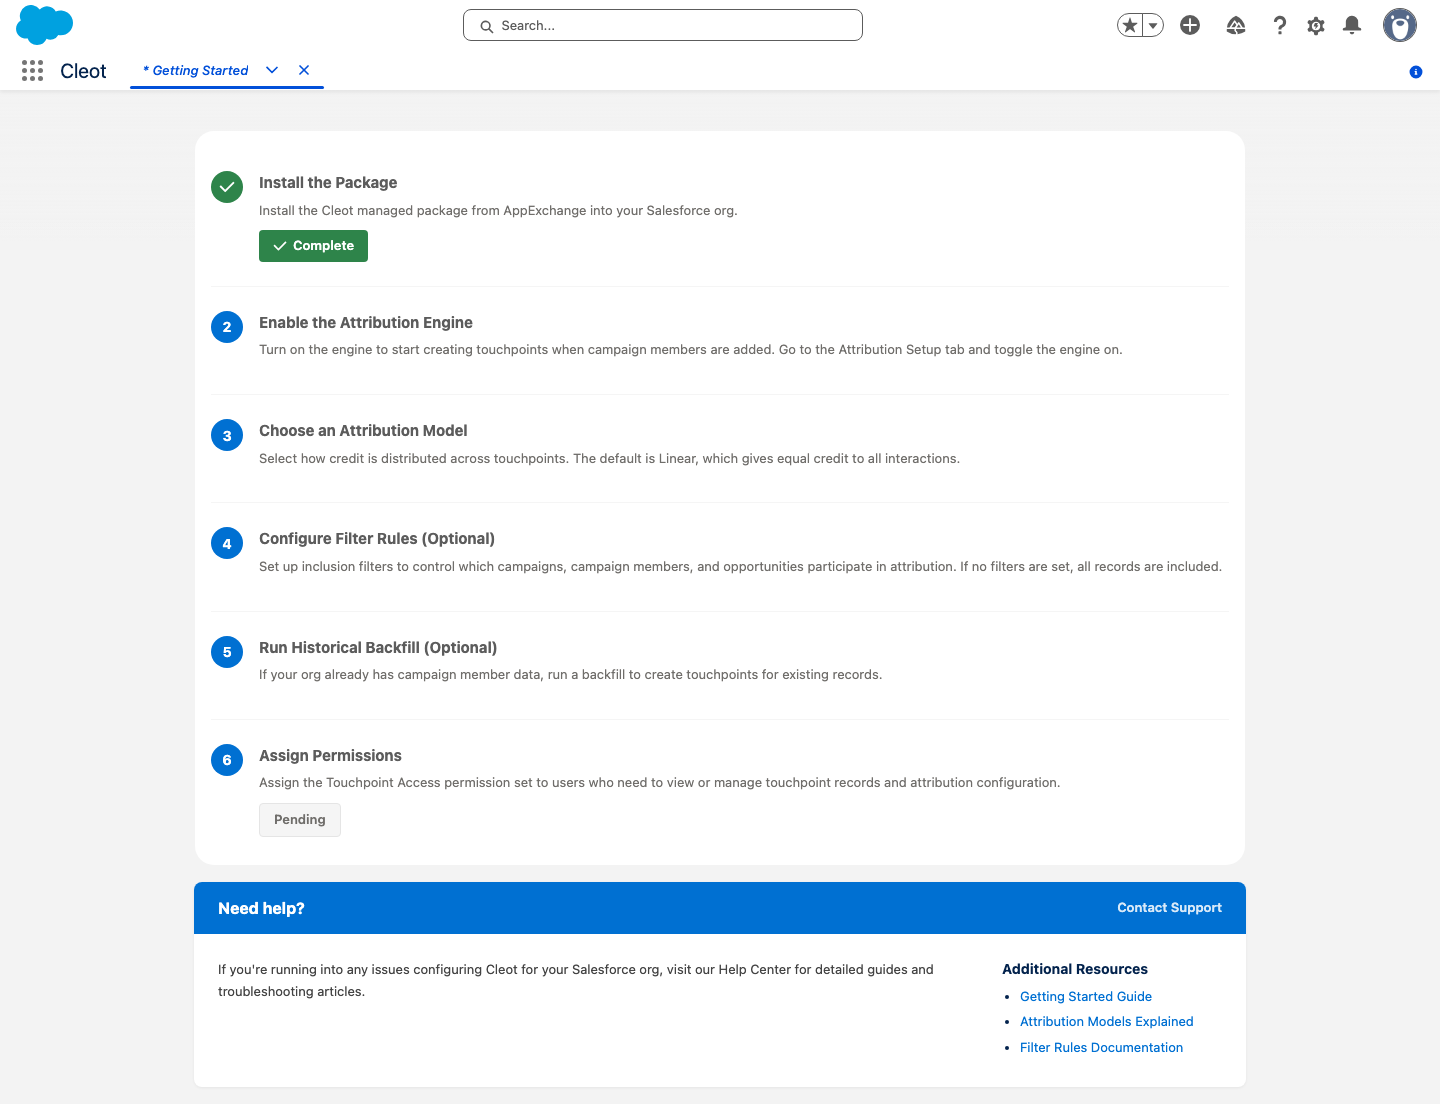
1. Assign Permission Set
Assign the Touchpoint Access permission set to all users who will interact with the app — admins, marketing, and sales users.
- Go to Setup > Permission Sets
- Click Touchpoint Access
- Click Manage Assignments > Add Assignment
- Select the users and click Assign
2. Add the Configuration Tabs
Add the Cleot tabs to your Lightning app:
- Go to Setup > App Manager
- Find your Lightning app (e.g., "Sales" or "Marketing") and click Edit
- Go to the Navigation Items section
- Add Attribution Configuration from the available items
- Click Save
The Attribution Configuration tab gives admins a single place to manage attribution models, filter rules, settings, and historical backfill.
3. Enable the Attribution Engine
The attribution engine is disabled by default after installation. No touchpoints will be created until you activate it.
- Go to the Attribution Configuration tab
- Click the Settings tab
- In the Enable Attribution Engine section, click Activate
- Review the configuration summary in the confirmation modal
- Check the acknowledgment checkbox and click Activate
The status badge will change from Inactive to Active. The engine will immediately begin creating touchpoints for new Campaign Member interactions.
Before activating, review your attribution model, scope, lookback, and filter settings. The confirmation modal shows a summary of your current configuration.
4. Verify Default Models
The app ships with five attribution models:
| Model | Type | Description |
|---|---|---|
| Linear | Even | Equal credit to all touchpoints (default) |
| First Touch | Position-Weighted | 100% credit to the first touchpoint |
| Last Touch | Position-Weighted | 100% credit to the last touchpoint |
| U-Shaped | Position-Weighted | 40% first, 20% middle, 40% last |
| Time Decay | Time-Decay | Exponential decay with 7-day half-life |
To verify: go to the Attribution Configuration tab and check that the Attribution Model dropdown shows all five models.
5. Enable Marketing User Permission
Users who create or manage Campaigns need the Marketing User checkbox enabled on their User record:
- Go to Setup > Users
- Edit the relevant user
- Check Marketing User
- Click Save
Without Marketing User enabled, Campaign-related triggers may fail silently. Ensure all users who create Campaigns have this permission.
6. Optional: Configure Attribution Scope
By default, the app attributes touchpoints to Opportunities at the Account level — any Contact on the Account is matched. If you want stricter matching:
- Go to the Attribution Configuration tab
- Click the Settings tab
- Find Attribution Scope
- Select Contact Role to only attribute touchpoints when the Contact has an OpportunityContactRole on the Opportunity
- Click Save Settings
7. Optional: Configure Stage Tracking
The Stage Tracker captures the origin type (Lead, Contact, or Opportunity) on each touchpoint. It is enabled by default.
To disable it:
- Go to the Attribution Configuration tab
- Click the Settings tab
- Toggle Stage Tracker off
- Click Save Settings
See Stage Tracker for more details.
8. Optional: Run Historical Backfill
If you have existing Campaign Members from before the app was installed, you can retroactively create touchpoints for them:
- Go to the Attribution Configuration tab
- Click the Historical Backfill tab
- Click Run Backfill
- In the confirmation modal, check the acknowledgment checkbox and click Run Backfill
- The batch job runs in the background — progress is shown on the page
See Historical Backfill for details.
You're Ready
Once permissions are assigned, the tab is added, and the engine is activated, the app begins working automatically. Any new Campaign Members added to active Campaigns will generate touchpoints. See How It Works to understand the automation.